13 Most Popular Herbs Grown in Water at Home (USA)
Garden Healthy 14/07/2026 13:05
Propagating plants from root cuttings is an easy and affordable way to expand your garden. A single healthy parent plant can produce several new plants, often without the need for commercial rooting hormones. With proper timing, careful preparation, and a few natural rooting aids, you can encourage healthy new growth using materials you may already have at home.
Here's everything you need to know to successfully propagate plants from root cuttings.
Root cuttings are sections of healthy roots that are planted to grow into entirely new plants. This propagation method works best for species that naturally produce shoots from their roots or store energy underground.
The best time to take root cuttings is during the plant's dormant season or when growth has slowed, typically from late autumn through early spring, depending on your climate.
For the best results:
Choose vigorous, disease-free parent plants.
Keep cuttings moist, but never waterlogged.
Handle roots carefully to reduce damage and prevent rot.
Natural rooting aids aren't essential, but they may help create favorable conditions for successful propagation.
They can:
Help keep cut surfaces clean.
Reduce the risk of infection.
Support healthy callus formation.
Be inexpensive, readily available, and easy to prepare.
Remember, proper technique is far more important than any rooting solution.
Choose roots that are:
Firm and healthy
Light-colored with no signs of decay
About the thickness of a pencil, depending on the plant species
Avoid roots that are:
Soft or mushy
Dark or rotting
Damaged or diseased
Use clean, sharp pruning shears or a sterilized knife.
Cut each section into pieces approximately 5–10 cm (2–4 inches) long. Larger roots may be slightly longer.
To keep track of which end faces upward:
Make a straight cut at the top.
Make an angled cut at the bottom.
This simple trick prevents accidental upside-down planting.
Root cuttings lose moisture quickly.
Until you're ready to plant them, wrap them in a damp paper towel or place them in lightly moistened coco coir or peat moss. Store them in a cool place for a short period.
Heavy garden soil often causes root cuttings to rot.
A simple propagation mix consists of:
50% coco coir or peat moss
50% perlite or coarse sand
The goal is a medium that stays lightly moist while allowing plenty of airflow around developing roots.
Insert the cutting vertically with the straight-cut end facing upward.
Cover the top with about 1 cm (½ inch) of growing medium.
For thinner roots, lay the cutting horizontally and cover it with 1–2 cm (½–¾ inch) of the propagation mix.
After planting:
Water lightly.
Keep the medium evenly moist but never saturated.
Choose one of the following methods rather than combining several together.
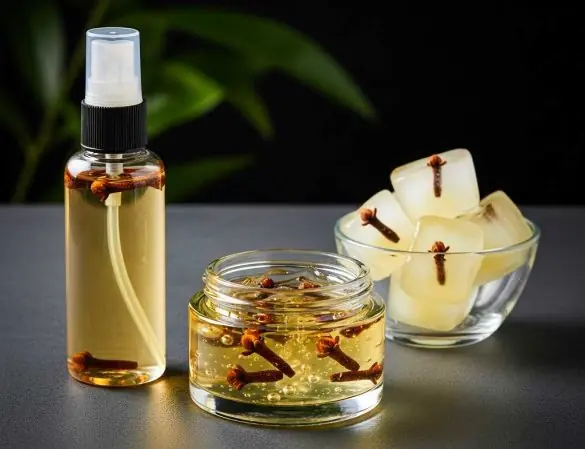
Fresh aloe vera gel is commonly used to coat cut surfaces before planting.
How to use:
Scoop the clear gel from a fresh aloe leaf.
Apply a thin coating to the cut end.
Plant immediately.
Honey has traditionally been used as a natural protective coating for fresh plant cuts.
How to prepare:
Mix 1 teaspoon of honey into 1 cup of lukewarm water.
Dip the cut end for several seconds.
Allow excess liquid to drain before planting.
Avoid applying thick, sticky layers.
Comfrey leaves can be steeped to create a mild plant tonic.
Preparation:
Place fresh or dried comfrey leaves in hot water.
Allow the mixture to cool.
Strain and dilute until it resembles weak tea.
Use occasionally to lightly moisten the soil after planting.
Some gardeners use a very dilute vinegar solution as a brief pre-planting dip.
Recipe:
Mix 1 teaspoon of apple cider vinegar with 1 liter of water.
Dip the cut end for only 1–2 seconds.
Plant immediately afterward.
Never increase the concentration, as stronger solutions may damage plant tissue.
New root cuttings often remain inactive for several weeks before producing visible growth.
Ideal growing conditions include:
Bright, indirect light
Temperatures between 18–24°C (65–75°F)
Consistently moist—but not wet—growing medium
If indoor air is especially dry, loosely cover the pot with a clear plastic bag to maintain humidity. Ventilate it daily to reduce the risk of mold.
Some species sprout within a few weeks, while others require more time.
Healthy cuttings usually:
Stay firm and hydrated
Show no unpleasant odor
Produce new shoots or resist gentle tugging once roots develop
Usually caused by excess moisture or poor drainage.
Solution:
Improve airflow.
Reduce watering.
Use a lighter growing medium.
Often caused by insufficient moisture or excessive heat.
Solution:
Increase humidity slightly.
Move to a cooler location with indirect light.
Usually develops in overly damp, poorly ventilated conditions.
Solution:
Remove the affected surface layer.
Improve air circulation.
Water less frequently.
Root cuttings offer one of the simplest and most economical ways to multiply many garden plants. While homemade rooting aids such as aloe vera gel, honey solution, comfrey tea, or diluted apple cider vinegar may provide additional support, success depends primarily on healthy plant material, proper planting orientation, a well-draining growing medium, and consistent care.
With patience and the right conditions, you'll soon have healthy new plants ready to grow.
If you found this guide helpful, share it with fellow gardeners and inspire them to try propagating plants naturally.