A Chocolate Compound May Help the Brain Reclaim Its Youth
News 14/12/2025 22:06
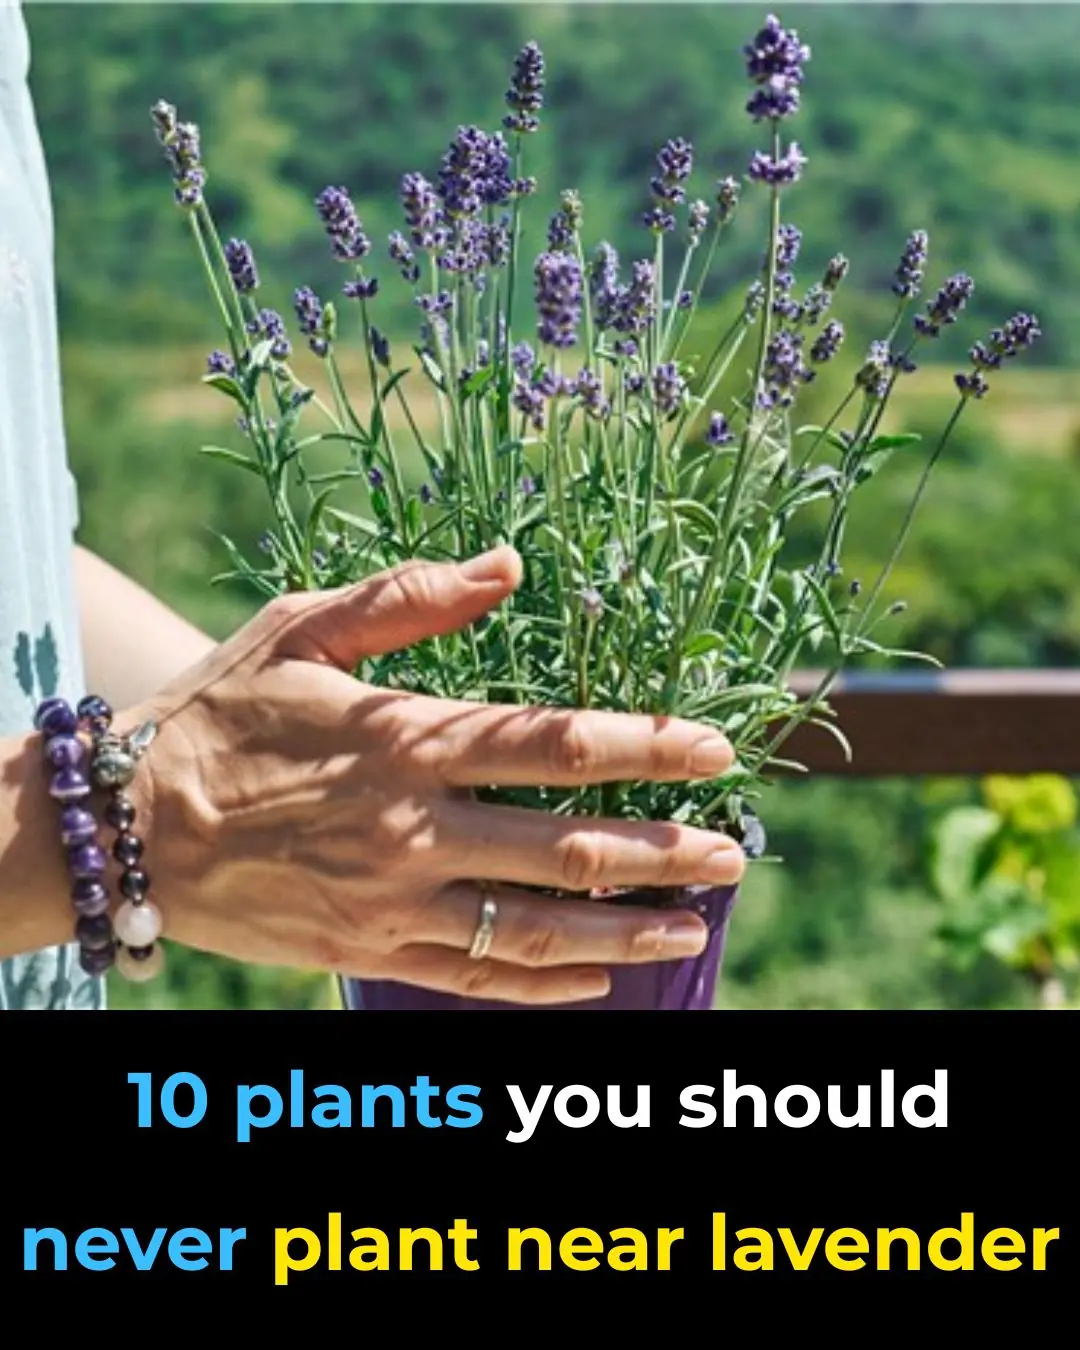
Lavender is cherished around the world for its enchanting scent, striking purple flowers, and remarkable versatility. From gardens and landscapes to culinary dishes and aromatherapy products, lavender (genus Lavandula) has earned its place as a beloved plant among hobbyists and experts alike. Yet many gardeners don’t realize just how simple it is to propagate lavender on their own—from cuttings taken straight from a healthy parent plant.
Growing lavender from cuttings is cost-effective, quick, and allows you to clone your favorite varieties with the same traits you already love—whether that’s fragrance, bloom color, or drought tolerance. Unlike growing from seeds, which can take years and result in inconsistent characteristics, cuttings often establish faster and more uniformly. In this expanded guide, we’ll walk you through every step, from choosing the right stems to helping your new lavender thrive.
Lavender (Lavandula) belongs to the mint family (Lamiaceae) and includes about 47 recognized species. It is native to regions of Europe, northern Africa, the Mediterranean, and parts of southwest Asia. Most varieties are perennial—meaning they survive more than two years—provided they’re planted in well-draining soil with plenty of sunlight. According to gardening experts, lavender prefers full sun and soil that drains efficiently, as soggy roots can quickly lead to rot.
Typical traits of lavender:
Grows 1 to 3 feet (30–90 cm) tall and equally wide.
Features narrow, gray-green leaves.
Blooms usually in shades of purple, though white and pink varieties exist.
Highly drought-tolerant when established.
Commonly used for fragrances, culinary herbs, essential oils, and ornamental gardens.
Lavender is also a favorite choice for xeriscaping, a landscaping technique that emphasizes water conservation.
There are several compelling reasons to grow lavender from cuttings rather than seed:
Cost Savings: You don’t have to buy brand-new plants.
Genetic Fidelity: Cuttings produce clones of the parent plant—ensuring the same scent, color, and growth habit.
Faster Results: While seed-grown lavender may take years to mature, cuttings can root and show new growth within a few months.
Uniformity: Cuttings help maintain a consistent garden aesthetic, as seedlings may vary widely in appearance and vigor.
Horticulturists widely agree that vegetative propagation (like cuttings) often yields more reliable garden results than starting from seed.
Timing matters. The best period for harvesting lavender cuttings is during the active growing season, typically late spring to early summer. At this stage, the plant is vigorously producing new growth, which increases the likelihood of successful rooting.
Ideal conditions:
Morning harvest: The plant is well-hydrated.
Avoid midday heat: High temperatures can stress the plant and reduce success.
Mild autumn option: In milder climates, you can also take cuttings in early fall, though rooting may take longer.
When choosing which plant to harvest from:
Pick a healthy, vigorous, pest-free lavender.
Look for non-flowering stems with several new leaf nodes—this is where roots are most likely to form.
Avoid weak or woody stems, which are less likely to develop roots.
In general, English lavender (Lavandula angustifolia) and French lavender (Lavandula stoechas) are excellent choices for propagation due to their adaptability and popularity in gardens.
You don’t need sophisticated equipment to propagate lavender—just a few basics:
Clean, sharp pruning shears or scissors.
Rooting hormone (optional but helpful).
Small pots or containers with good drainage.
A root-friendly soil mix (such as equal parts perlite and peat moss).
Tip: Sterilize your cutting tools with rubbing alcohol before use to prevent disease transmission.
Follow this simple process for success:
Choose a healthy, green stem about 4–6 inches (10–15 cm) long.
Make a clean cut just below a leaf node—roots form most readily here.
Remove lower leaves, leaving only a couple of sets at the top to reduce water loss.
(Optional) Dip the cut end in rooting hormone to stimulate quicker root growth.
According to horticultural research, using rooting hormone can increase root formation and improve early survival rates.
Planting your cuttings correctly ensures a strong start:
Fill a pot with your well-draining mix.
Make a small hole about 1–2 inches deep.
Place the cutting in the hole and gently firm the soil around it.
Water lightly—too much moisture can cause rot.
Important: Lavender likes slightly dry conditions, so avoid overwatering. The soil should stay moist but not soggy.
Lavender thrives in soil that drains well and doesn’t hold excessive moisture. A mix of:
Equal parts perlite and peat moss, or
A high-quality seed-starting mix
…provides the right balance of aeration and moisture retention.
In hot or humid climates, adding extra sand or perlite enhances drainage and reduces fungal risk.
After planting:
Place the container in a bright, warm spot with indirect sunlight.
Maintain a slightly damp (not wet) soil surface.
Covering the pot with a clear plastic dome or bag creates humidity, which can help root formation.
Most lavender cuttings develop roots within 4–6 weeks. Once you see new leaf growth, it’s a sign that roots are developing well.
After rooting:
Gradually introduce your new plants to outdoor conditions by placing them in a sheltered area for a few hours daily.
After 7–10 days, you can transplant them into the garden or larger containers.
This “hardening off” process helps the young plant adjust to sunlight, wind, and temperature changes without shock.
Even experienced gardeners make these errors:
Overwatering, which can lead to root rot.
Taking cuttings from flowering stems, which are less likely to root.
Placing cuttings in direct sunlight, which can dry them out prematurely.
Keeping conditions steady, bright, and slightly humid usually yields the best results.
Propagating lavender from cuttings is a simple, satisfying gardening technique that helps you expand your collection without breaking the bank. With minimal tools, a bit of patience, and proper care, even novice gardeners can enjoy thriving lavender plants that smell divine and beautify their garden spaces.
Whether you’re growing lavender for its scent, looks, or practical uses, mastering the art of propagation gives you more plants, more blooms, and more reasons to love your garden.
British Countryside Gardening on Lavender Care and Propagation
Oregon State University Extension on Cutting Propagation Basics
The National Gardening Association on Lavender Varieties
Gardening Know How: Lavender Plant Propagation Tips