Never leave a charger plugged in when empty: here are the 3 main reasons.
Tips 07/10/2025 15:19
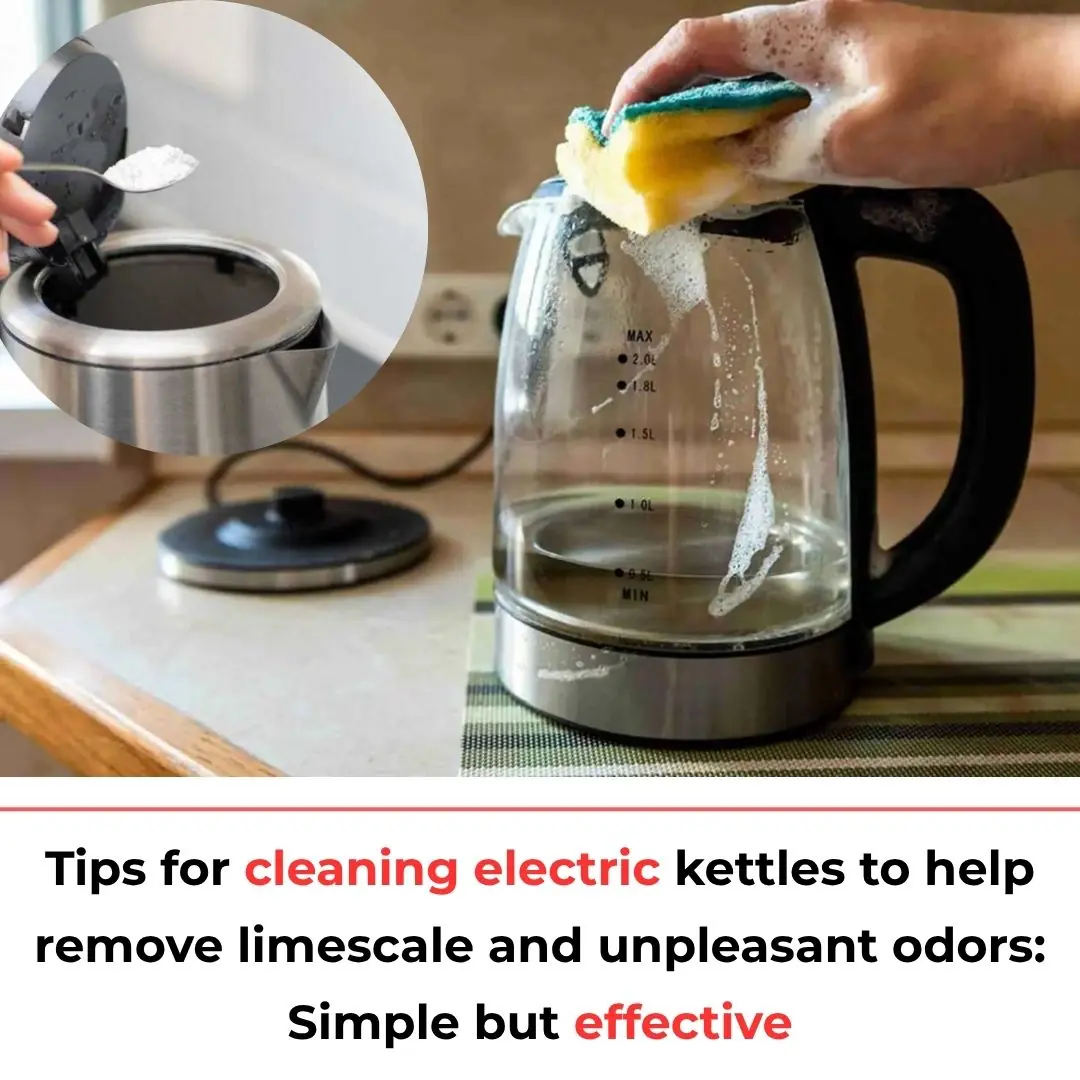
Water Heaters: Essential Maintenance and Cleaning
A water heater, like other household appliances, requires regular maintenance and cleaning. It is an essential device in every home, especially during cold weather. Before taking a shower, you only need to turn on the heater for 15-20 minutes to have hot water ready for use, which is very convenient.
One thing that many people neglect when using a water heater is cleaning it. A water heater is similar to a kettle. After a period of use, a lot of debris accumulates inside the tank. This is because the water contains minerals like calcium and iron, which react with the metal inside the heater when the temperature rises, forming deposits.
These deposits inside the water heater can cause several problems, such as blocked water outlets, reduced water capacity, and decreased heating efficiency. In water that contains many minerals, the metal components of the heater’s heating elements can even become corroded. Over time, this part may develop holes or cracks, leading to electrical leakage.
Therefore, regular cleaning of the water heater is necessary for every household.
How to Clean a Water Heater
In fact, cleaning a water heater is not too complicated. You only need to understand the structure of the heater to be able to flush out all the dirt inside.
On the water heater, there is a drainage valve. Simply unscrew it, and the debris will flow out through this valve as you flush the heater.
The first thing to do before cleaning the water heater is to turn off the power supply and close the water inlet valve. Then, drain all the hot water from inside the tank.
Next, sequentially remove the water supply pipe, the water outlet pipe, and the safety valve.
Once all the water in the tank has been drained, unscrew the drainage valve. This valve is located near the two water pipes. Note, be gentle when unscrewing this valve because it is often attached to a magnesium rod (a sediment cleaning rod). This rod serves to protect the uncoated points inside the heater, preventing corrosion, and helps protect the inner tank from perforation during use.
Afterwards, use the water inlet pipe to reconnect the water supply. Open the water inlet valve to let cold water flow into the tank and clean it. At this point, the dirty water will flow out through the drainage valve.
After flushing the heater for about 1-2 minutes, the dirt inside will be completely flushed out. Close the water inlet valve and remove the water supply pipe. Reattach all the pipes to their original positions.
Cleaning the Magnesium Rod
Before reattaching the magnesium rod to its original position, you should wash it thoroughly. If the magnesium rod is more than 60% corroded, it should be replaced. If not replaced, the magnesium will combine with other metals in the tank, causing the inner part of the heater to corrode.
Cleaning the Exterior of the Heater
For the exterior of the heater, you only need to use a cloth to wipe off any dust. You can use a specialized cleaning agent to spray on any stubborn stains and wipe them away. Finally, use a clean cloth to wipe the heater dry.
Open the hot water valve to drain the air inside the tank, while simultaneously opening the cold water valve so that water flows out of the hot water outlet. If you see a steady stream of water without any bubbles, you can close the hot water valve.
After that, plug the power back in to run the water heater normally. You can use a voltage tester to check the outer shell, water valve, and water to see if there is any electrical leakage. Also, check whether the water temperature meets the required level.
The water heater should be cleaned 1-2 times a year to ensure that the device is clean and functioning properly.
Note that each water heater has a different structure. You should learn about the specific structure of the type of heater you are using before cleaning to ensure that you can disassemble and reassemble it easily without damaging the appliance.