Sulfur: the hidden mineral that protects your heart and powers your cells
Health 16/12/2025 12:26
When access to clean drinking water becomes limited—whether during wilderness camping, remote travel, or an unexpected emergency—knowing how to build a basic water filter can be a crucial survival skill. With a few common materials, you can significantly improve the clarity and safety of dirty water.
This method does not replace professional filtration or purification systems, but it can help remove debris, sediment, and some impurities when no better option is available.
1 plastic bottle (medium size works best)
Sharp knife or scissors
Heated metal rod or soldering iron (for small holes)
Clean cotton (preferably unbleached)
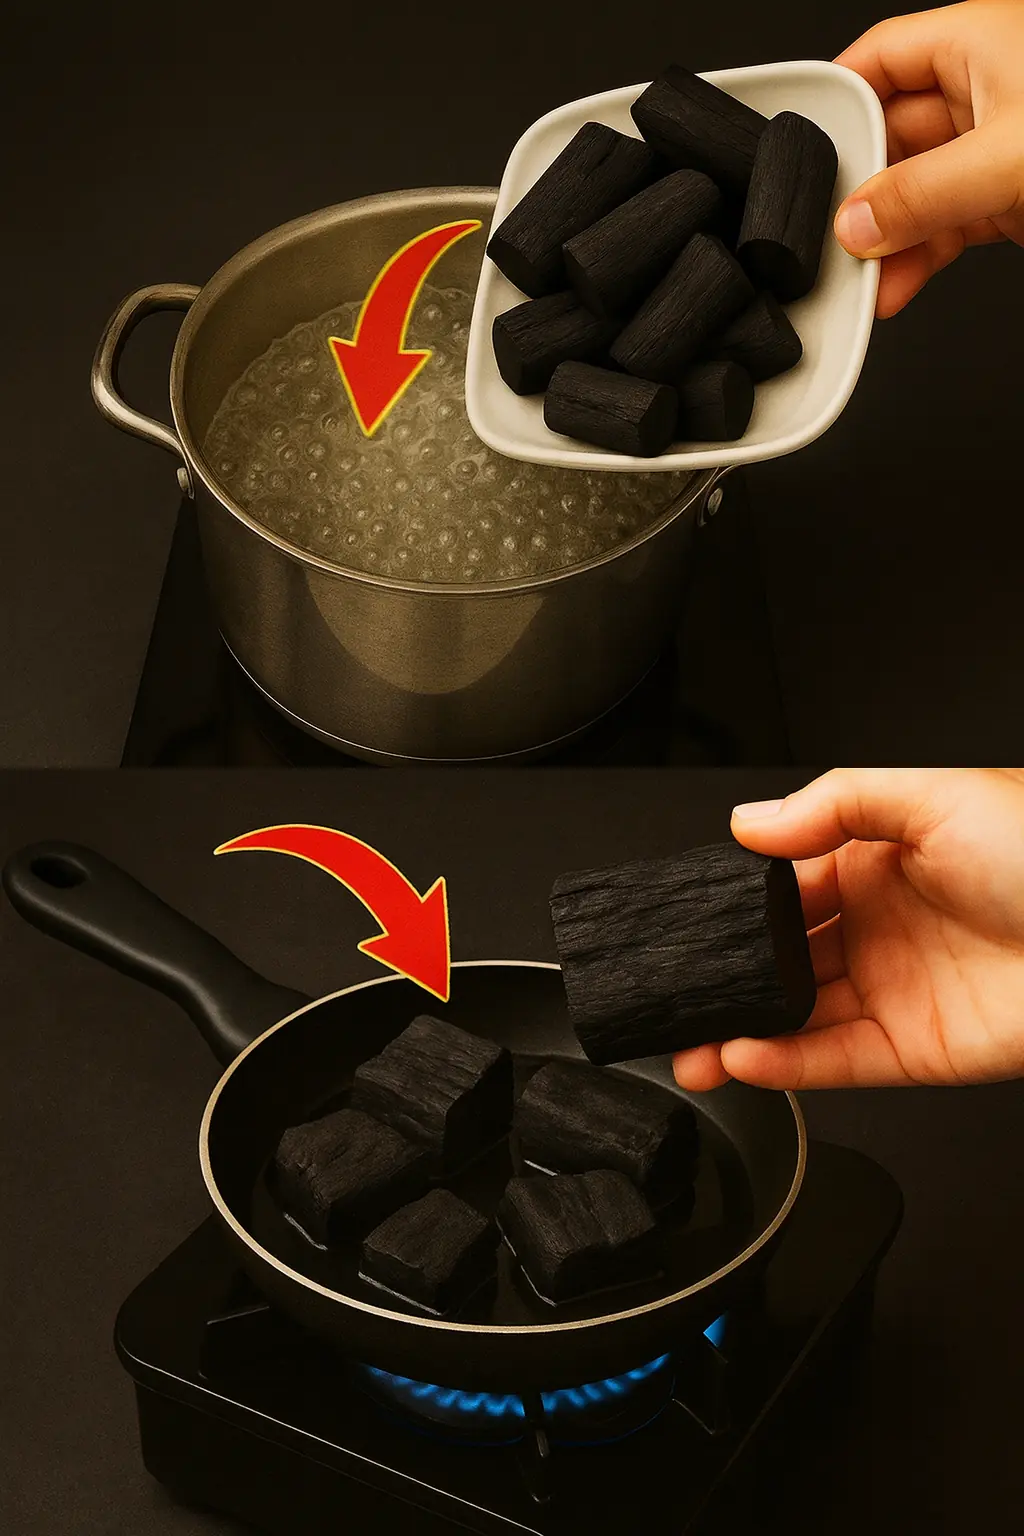
Charcoal (boiled and dried first)
Fine, clean sand
Clean gravel or small pebbles
Clean container to collect filtered water
Wash the plastic bottle thoroughly inside and out to remove dirt, residue, or odors. This prevents introducing additional contaminants.
Cut the bottle in half.
Top half: will serve as the filter
Bottom half: will collect the filtered water
Using a heated metal rod or soldering iron, make 3–5 small holes in the bottle cap. These holes allow filtered water to drip out slowly.
Optional: Add a few small holes near the sides of the bottle to improve airflow and filtration speed.
Correct layering is essential for effective filtration. Assemble the filter from bottom to top as follows:
Bottom Layer – Cotton
Place a layer of cotton directly above the bottle cap. This acts as the final barrier, trapping fine particles before the water exits.
Second Layer – Charcoal
Boil charcoal beforehand to remove impurities, then dry and crush it into small chunks (not powder). Charcoal helps absorb odors, chemicals, and organic contaminants.
Third Layer – Fine Sand
Add a layer of clean, fine sand to trap smaller particles and help regulate water flow.
Fourth Layer – Charcoal (Optional but Recommended)
An extra charcoal layer improves filtration efficiency and absorption.
Fifth Layer – Fine Sand
This stabilizes the charcoal and acts as an additional particle filter.
Top Layer – Gravel or Pebbles
The gravel blocks large debris like leaves or insects and helps distribute water evenly across the filter.
Invert the top half of the bottle and place it into the bottom half or another clean container.
Slowly pour dirty water over the gravel layer. As it passes through each filtration stage, sediment and debris will be progressively removed. The cotton layer at the bottom provides the final clarification.
The resulting water should be noticeably clearer, though not yet safe to drink without further treatment.
Always boil filtered water for at least 1 minute (or use chemical purification) before drinking whenever possible.
This filter removes visible debris and some impurities, not all bacteria, viruses, or parasites.
Clean all materials thoroughly before use.
Use this method only as a temporary emergency solution.
This DIY system mimics natural groundwater filtration:
Gravel: stops large debris
Sand: traps fine particles
Charcoal: absorbs chemicals and odors
Cotton: captures microscopic sediment
Together, these layers improve water clarity and reduce contamination risk.
Knowing how to make a homemade water filter is a valuable survival skill for emergencies, outdoor adventures, and disaster preparedness. With minimal tools and readily available materials, you can create a simple filtration system that may help sustain you when clean water is scarce.
While it should never replace professional purification methods, this technique can provide critical support when options are limited—proving that simple knowledge can sometimes save lives.